How to Create Digital Resources for Your Students
Learning to use and create digital resources for your students, in person or virtual, can be intimidating. There are so many types of digital resources out there and so many platforms it can become quite overwhelming. I want to help ease some of your concerns when it comes to creating digital resources. I’ve broken down some of my favorite types of digital resources below. (Remember, before you create your own digital resources for your students, you need to determine what type is going to work best for you and your students! This can be determined by grade level, app, accessibility, etc.)

1. Drag & Drop:
This is probably my go to type of resource! I teach kindergarten so this is an easy digital activity for my students to complete! A drag and drop resource usually has columns or categories for students to drag and drop moveable images, letters, numbers or words in the columns. When making these types of digital resources, I always make sure that I have the correct clipart. Not all clipart is able to be used as a moveable piece. Be sure to read the clipart terms of use to determine if you are allowed to use it as a moveable piece. You also want to make sure the clipart you are using has the proper DPI in order to be used as a moveable piece. Having the proper DPI will ensure that your clipart won’t get blurry when you stretch it! I like to buy a lot of my clipart on Teachers Pay Teachers, Creative Market, or Etsy. Simply Googling an image and copying and pasting it into your resource will violate copyright.
2. Circling Objects:
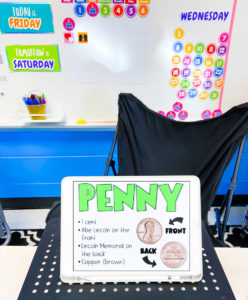
Another easy go to for the younger grades! Typically for these types of assignments I would put images, letters, numbers or words on a slide and ask students to use a pen tool to circle certain answers. Seesaw has some great annotation tools like pen, pencil, highlighter, and students are able to pick their thickness and color (which they love!). As of right now, Google doesn’t directly have an annotation tool that can be used in Google Slides, but hopefully soon they will! If you want to see a full list of my comparison of Google Slides and Seesaw, click here.

3. Recordings:
This is another great digital resource tool for the younger grades! My kindergarten students aren’t always able to write or type their answers, so sometimes I ask them to record themselves. On Seesaw, the microphone tool is already installed. If you are using Google Slides, you can use a free online tool like Online Voice Recorder. I love using this website because it allows me to record, download, and insert into Google quickly and easily!
4. Clickable Games:
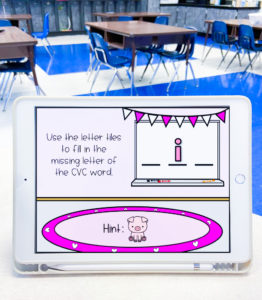
Clickable games are probably the most fun to make! However, they are a little more difficult to create. I have made clickable games in Google Slides and Boom Learning. Boom has a lot of tools you can use to create an interactive game, like adding shapes and creating right or wrong answers. In Google Slides, you can also use shapes and link slides to create a clickable game. For example, in my Virtual Classroom Rules Game, I linked the answer choices to a correct or incorrect slide. Students can click on a shape I have linked to another slide to move to the next question or go back to the previous question. Tip: Clickable games have to be played in presentation mode!

If you are interested in learning more about how to create your own digital resources for your students, click here to download your free guide!


